As an Amazon Associate, I earn from qualifying purchases.
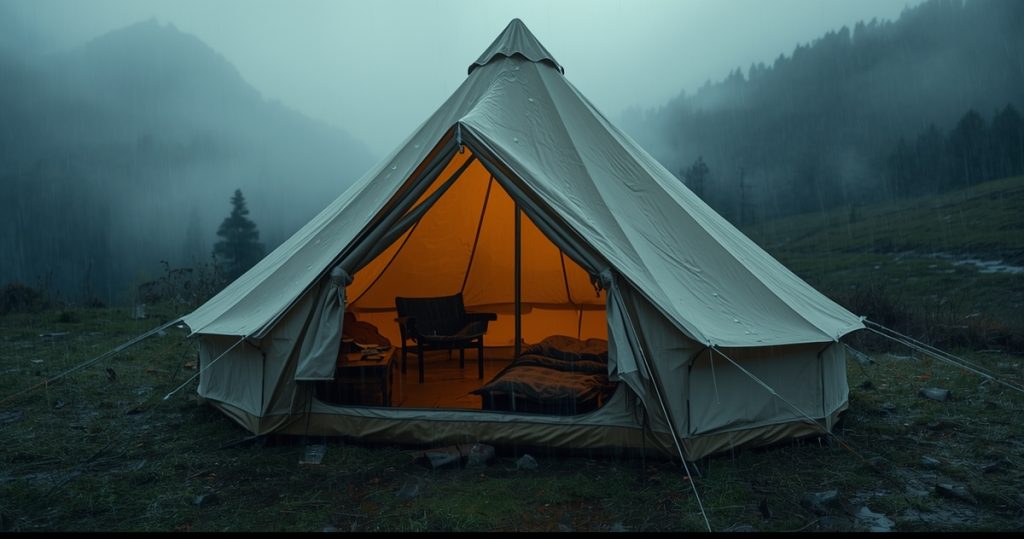
Canvas tents are durable and breathable, but to waterproof a canvas tent properly, they need the right care to stay dry in wet weather. Unlike synthetic tents, canvas absorbs moisture over time, leading to leaks, mold, and discomfort. With the right techniques and products, you can easily waterproof a canvas tent, ensuring it remains water-resistant and reliable.
This step-by-step guide explains why waterproofing is essential, the best products and tools, and maintenance tips to extend your tent’s lifespan. Whether your tent is new or showing signs of wear, these proven methods will help you stay dry and comfortable on every outdoor adventure.
Contents
- 1 Why Waterproofing a Canvas Tent Is Important
- 2 How to Waterproof a Canvas Tent (Step-by-Step)
- 2.1 Step 1: Set Up the Tent Fully in a Dry, Open Space
- 2.2 Step 2: Clean the Canvas with Mild Soap and Water
- 2.3 Step 3: Let the Tent Dry Completely Before Applying Treatment
- 2.4 Step 4: Apply a Canvas Waterproofing Spray or Treatment Evenly
- 2.5 Step 5: Pay Special Attention to Seams and Stitching
- 2.6 Step 6: Let the Treatment Cure for 24-48 Hours
- 2.7 Step 7: Test with Light Water Spray to Check for Leaks
- 3 Best Products & Tools for Waterproofing Canvas Tents
- 4 Tips to Maintain Waterproofing Over Time
- 5 Frequently Asked Questions
Why Waterproofing a Canvas Tent Is Important
Canvas tents offer many advantages over their synthetic counterparts, but they come with unique maintenance requirements. Understanding why waterproofing matters will help you appreciate the importance of this essential camping gear care routine.
Prevents Leaks During Rainstorms
Canvas is naturally absorbent, which means untreated fabric will soak up water like a sponge during rainfall. While some campers believe canvas tents naturally shed water once the fibers swell, this process is unreliable and often leads to interior dripping and moisture buildup. Proper waterproofing creates a protective barrier that causes water to bead up and roll off the surface instead of penetrating the fabric.
Protects Against Mildew and Mold Growth
Moisture trapped in canvas fibers creates the perfect breeding ground for mold and mildew. These fungi not only create unpleasant odors but can also permanently stain and weaken the fabric. If you’re wondering how to get mildew smell out of tent materials, prevention through proper waterproofing is far more effective than trying to remove established mold colonies later.
Extends the Tent’s Lifespan
Quality canvas tents represent a significant investment, often costing hundreds or thousands of dollars. Regular waterproofing protects this investment by preventing water damage, UV degradation, and fabric deterioration. A well-maintained canvas tent can last decades with proper care, while neglected tents may need replacement within a few years.
Improves Overall Camping Comfort and Safety
Dry camping gear is essential for both comfort and safety in the outdoors. Wet conditions inside your tent can lead to hypothermia risks, damaged equipment, and a miserable camping experience. Waterproofing ensures your shelter performs its primary function of keeping you dry and comfortable regardless of weather conditions.
How to Waterproof a Canvas Tent (Step-by-Step)

Properly waterproofing a canvas tent is essential for keeping you and your gear dry while extending the tent’s lifespan. Using the right products and techniques ensures reliable protection against rain, moisture, and damp conditions, maintaining comfort and safety on every trip.
Follow a step-by-step approach, allowing adequate drying time between treatments. With careful application, your canvas tent will remain durable and weather-ready for many adventures.
Step 1: Set Up the Tent Fully in a Dry, Open Space
Choose a large, dry area with good ventilation for this project. Your backyard, garage with open doors, or a covered pavilion work well. Set up the tent completely, including the rainfly if your tent has one. Make sure all guy lines are taut and the fabric is stretched properly. This ensures you can access all surfaces and that the waterproofing treatment will penetrate evenly across the entire tent.
Step 2: Clean the Canvas with Mild Soap and Water
Before applying any waterproofing treatment, thoroughly clean the tent fabric. Mix a solution of mild soap (dish soap or specialized tent cleaner) with water. Using a soft-bristle brush or sponge, gently scrub the entire tent surface, paying extra attention to areas with visible dirt, stains, or mildew.
For tents with existing mold issues, you’ll need to address this before waterproofing. Learning how to get mold off a tent properly involves using a solution of one part white vinegar to three parts water, followed by thorough rinsing. Never use harsh chemicals or bleach, as these can damage canvas fibers and affect waterproofing adhesion.
Step 3: Let the Tent Dry Completely Before Applying Treatment
This step cannot be rushed. The tent must be completely dry before waterproofing treatment application. Depending on humidity and air circulation, this can take 24-48 hours. Touch test different areas of the fabric to ensure no moisture remains. Applying waterproofing to damp canvas will result in poor adhesion and uneven coverage.
Step 4: Apply a Canvas Waterproofing Spray or Treatment Evenly
Using your chosen waterproofing product, apply an even coat across the entire tent surface. Work in sections to maintain wet edges and ensure uniform coverage. Hold spray bottles 6-8 inches from the fabric and use overlapping strokes. For brush-on treatments, use a clean brush and work the product into the fabric fibers without oversaturating any area.
Start with the tent body, then move to the rainfly if applicable. Apply treatment to both the interior and exterior surfaces for maximum protection, following manufacturer recommendations for your specific product.
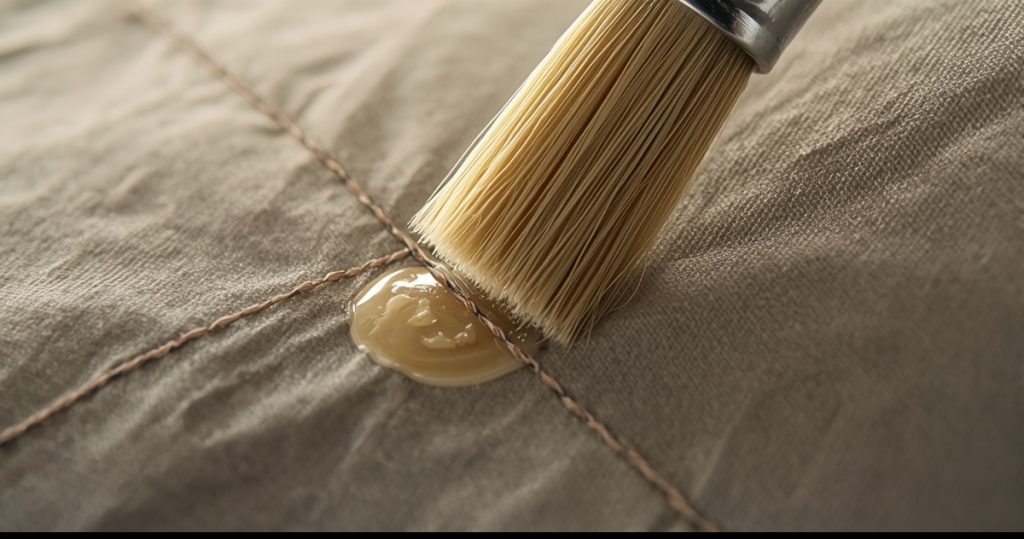
Step 5: Pay Special Attention to Seams and Stitching
Seams are the most vulnerable areas for leaks in any tent. Apply extra waterproofing treatment to all seams, using a small brush to work the product into stitching holes. Consider using a dedicated seam sealer in addition to your primary waterproofing treatment for these critical areas.
Don’t forget other potential leak points like zipper areas, guy line attachment points, and any patches or repairs. If you’ve ever dealt with how to fix a broken zipper on a tent, you know these areas need extra protection against moisture intrusion.
Step 6: Let the Treatment Cure for 24-48 Hours
Allow the waterproofing treatment to cure completely according to manufacturer instructions. Most products require 24-48 hours of dry conditions for full effectiveness. Avoid touching or moving the tent during this period, as this can disrupt the curing process and create weak spots in your waterproof barrier.
Step 7: Test with Light Water Spray to Check for Leaks
Once the treatment has cured, test your work by lightly spraying water on different sections of the tent. Water should bead up and roll off the surface. If you notice any areas where water soaks in or drips through, apply additional treatment to these spots and allow them to cure before final testing.
Best Products & Tools for Waterproofing Canvas Tents
Choosing the right products and tools makes the difference between a successful waterproofing job and a frustrating experience. Here’s what you’ll need for professional-quality results.
Silicone-Based or Fluoropolymer Waterproofing Sprays
Silicone-based waterproofing sprays offer excellent water repellency and are easy to apply. Popular brands include Nikwax Cotton Proof and Grangers Canvas + Tent Waterproofer. These products penetrate canvas fibers while maintaining breathability.
Fluoropolymer treatments like Scotchgard Heavy Duty Water Shield provide superior water and stain resistance but may slightly reduce breathability. Choose based on your priorities for protection versus airflow.
Beeswax or Seam Sealers for Joints and Stitching
Dedicated seam sealers provide targeted protection for the most vulnerable areas of your tent. Products like Gear Aid Seam Grip work well for canvas tents. Some campers prefer traditional beeswax treatments, which offer excellent waterproofing but require more effort to apply and may slightly stiffen the fabric.
Soft-Bristle Brush or Sponge for Cleaning
Invest in a dedicated tent cleaning brush with soft bristles that won’t damage canvas fibers. Natural bristle brushes work well, as do synthetic brushes designed for outdoor gear cleaning. Avoid stiff brushes that might abrade the fabric surface.
Hose or Spray Bottle for Testing After Treatment
A garden hose with an adjustable nozzle allows you to simulate different rain intensities when testing your waterproofing job. Start with a light mist and gradually increase water pressure to identify any weak spots that need additional treatment.
UV-Protectant Spray (Optional) to Prevent Sun Damage
While not strictly necessary for waterproofing, UV protection helps prevent canvas degradation from sun exposure. Products that combine waterproofing with UV protection, like 303 Fabric Guard, offer comprehensive protection in a single application.
Tips to Maintain Waterproofing Over Time

Proper maintenance extends the life of your waterproofing treatment and keeps your tent performing at its best. These practices will save you time and money while ensuring reliable protection.
Reapply Waterproofing Treatment Annually or After Heavy Use
Plan to reapply waterproofing treatment at least once per year, or more frequently if you camp regularly in wet conditions. Signs that retreatment is needed include water soaking into fabric instead of beading up, interior condensation issues, or small leaks during rain.
Store Tent Dry and Clean to Prevent Mildew
Never pack away a wet or damp tent. Always ensure your tent is completely dry before storage, and store it in a cool, dry place with good air circulation. This prevents mold and mildew growth that can damage both the fabric and your waterproofing treatment.
If you do discover mold during setup, address it immediately using the cleaning methods described earlier. Catching mold early prevents permanent damage and eliminates the need for more aggressive cleaning that might strip your waterproofing.
Avoid Harsh Detergents That Break Down Waterproofing
Use only mild soaps or specialized tent cleaners when cleaning your canvas tent. Harsh detergents, fabric softeners, and bleach can break down waterproofing treatments and damage canvas fibers. When in doubt, rinse with plain water rather than risk using the wrong cleaning product.
Use a Ground Tarp or Footprint to Reduce Floor Moisture
A quality ground tarp or tent footprint protects your tent floor from moisture, abrasion, and punctures. This simple addition significantly extends both the life of your tent and the effectiveness of your waterproofing treatment by reducing ground moisture that can wick up through the floor.
Air-Dry Thoroughly After Each Trip
Even with excellent waterproofing, condensation and humidity can create moisture inside your tent. Set up your tent at home after each camping trip and allow it to air dry completely before storage. This prevents mold growth and maintains the integrity of your waterproofing treatmen
Final Verdict
Keep your canvas tent dry and long-lasting by storing it clean, fully dry, and in a ventilated spot. Apply waterproof treatments or use a rain fly for added protection. On-site, pitch on high, flat ground with a footprint, ventilate to reduce condensation, and avoid storing wet items inside. Keep surrounding foliage and damp surfaces away from the tent. These simple steps ensure your tent stays weather-ready, durable, and comfortable for every adventure.
Frequently Asked Questions
How often should I waterproof my canvas tent?
Reapply waterproofing treatment annually for regular campers, or every 2–3 years for occasional use. If you camp frequently in wet conditions, more frequent treatment may be necessary. Test your tent fabric each season by sprinkling water to see if it beads—this indicates whether retreatment is needed.
Can I use any waterproofing spray on canvas?
No, not all waterproofing products are suitable for canvas. Always choose treatments specifically designed for natural fibers or canvas materials. Avoid sprays made only for synthetic fabrics, as they may not penetrate or adhere properly, reducing effectiveness.
Do new canvas tents need waterproofing?
Yes, most new canvas tents benefit from a waterproofing treatment before first use. While some manufacturers apply factory treatments, these are usually minimal and may not provide sufficient protection in heavy rain. Treating a new tent ensures optimal performance from the start.
How do I waterproof tent seams specifically?
Apply your main waterproofing treatment first, then use a dedicated seam sealer for extra protection. Work the sealer into stitching holes with a small brush, focusing on corner seams where stress is highest. Allow extra curing time for seam-sealed areas to ensure long-lasting protection.
Is waxing better than spraying for canvas tents?
Both methods are effective when applied correctly. Spray treatments are easier to apply evenly and maintain the tent’s breathability. Wax treatments often last longer but can reduce airflow and require more effort for even application. Choose based on whether you prioritize ease of use or maximum durability.
As an Amazon Associate, I earn from qualifying purchases.